Migrate emails from one server to another
This method to migrate emails from one account to another does not require you to enter your hosting, unless you need to consult any of the parameters you need to change your mail server.
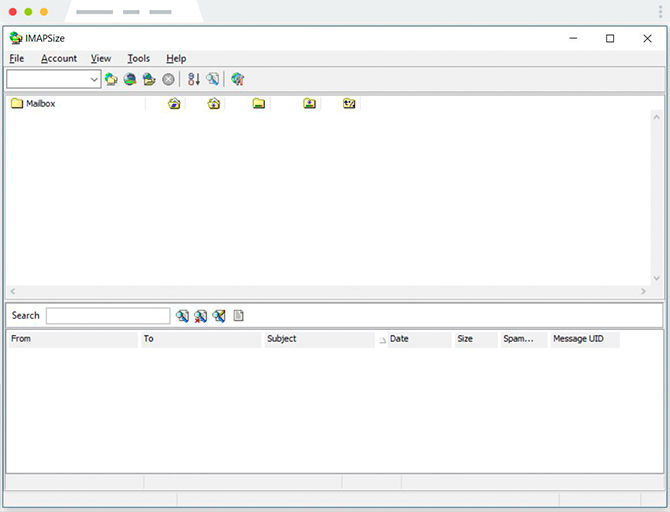
IMAPSize is a desktop application, a program that you install on your computer. It serves both to migrate emails from one hosting to another, and to transfer emails between two different accounts of the same hosting. Although it has not been updated for a few years, it still works and is highly recommended.
As the name implies, it uses the IMAP access protocol, so when synchronizing email accounts on other devices, the messages are kept on the server they were on.
This is very useful in case during the transfer of the emails an error occurs, since you can take it back where you left it, since it keeps a copy in the “old hosting”, but the only downside we see is that the mail transfer lose the date of the same appearing all mails as if they were received at the time of making the transfer if that is not an impediment to your case you can continue reading this tutorial.
In another post we explain how to make a mail transfer with the thunderbird mail client and keep everything as it was, maybe it is a better solution.
The steps to follow to migrate your email with IMAPSize are these:
- Installation: Download the program and install it. This is only for windows.
- Create a new account: open the program, go to “Account” / “New”. Complete the required data (if you do not know them, consult your hosting) of your “old account” and click on “Ok”. We verify that you have established a connection with our mail server through “Account” / “Check Size”.
- Make a backup: go to “Account” / “Account Backup”, select all folders and click on “Backup”. In this way, you have made a copy of all your emails.
- Create a second account: repeat the same process as before, but this time using the “new account”, to which you want to migrate your emails.
- Restore backup: go to “Account” / “Restore Backup”. Here, look closely at the accounts. The text “Restore backup of…” (old account) // “Restore to account…” (new account) appears. This is when the migration of all emails really occurs.
- You will have to repeat this process (except the installation) for each email account you wish to migrate.